Blog
DIY Star Wars Loth-Cat Costume Step-by-Step Tutorial
Today’s step-by-step DIY tutorial, we’re going to be creating a Star Wars inspired Loth-Cat Costume. It can be done as cosplay, but more Disneybounding-ish.
This project came about because, as you can see, I’ve done Sabine Wren’s look a few times for Star Wars Nite at Disneyland, and FanX events. When we first saw Sabine Wren in the Star Wars Ahsoka series with her first attire and hairstyle, it was a no-brainer for me to recreate it. It’s become my go-to Star Wars look!
But here’s the fun part—my niece saw the Loth-Cat in Star Wars Rebels & Ahsoka, and instantly thought it was the cutest thing ever. After hearing about the possibility of making a Loth-Cat costume, she was determined, talking about it for months! So, I thought, why not figure out how to make it? My goal was to make a costume that was easy, lightweight, and not too hot—perfect for events like FanX, which can get pretty toasty indoors.
So today, I’m sharing my step-by-step Loth-Cat costume DIY with you. Be sure to check out my Sabine costume tutorial as well (coming soon!), where I’ll also share the custom patches I designed.
Watch the Full Tutorial on YouTube:
Prefer to follow along with a video? Watch the step-by-step process on my YouTube channel here: Watch the DIY Loth-Cat Costume Tutorial on YouTube!
_____________________________________________________________
Materials You’ll Need:
- Reference picture of a Loth-Cat
- Glue Gun & Glue Sticks
- 9 Gauge Wire
- Animal Hooded Scarf
- Paint & Stiff Brush
- Comb (to brush it out)
- Fishing Line
- Curved Needle
- White Fur (1/3 yard)
- Tan/Beige Fur (9″ x 12″)
- Scissors
- Pliers/Wire Cutter
- Razor Blade/ Utility Knife
📌 Disclosure: As an Amazon Associate, I earn from qualifying purchases through the affiliate links above. This helps support my blog and channel at no extra cost to you.
_____________________________________________________________
Let’s Get Started!
- Shaping the Ears:
First, eyeball the initial height for the Loth-Cat ears. Once you’re happy with one, use it as a template for the second ear. This makes the process easier and quicker. Shape your wire to look like the ears, then glue your tan fur into place, wrapping it around the ear tips. Remember to use a razor blade to score the fur so the edges stay natural! - Sewing the Ears:
I used doubled-up fishing line to sew the wire to the fur hood, adjusting as I went along. I pulled the hood ears through the wire and fabric. Sew it tightly for stability, and fold the hood ears over the wire to add support for them to stand up . - Adding Paint to Ear Tips:
I used watered-down brown paint for the Loth-Cat’s ear tips. Be sure to paint with the grain of the fur. Feel free to go darker than I did! I would recommend adding black to the brown for more contrast. - Adding the Second Layer of FurNow, I’m going to place the other piece of fur that I had precut. This piece is designed to overlap the painted portion, allowing the natural fur to blend seamlessly into the painted areas. Once I have everything in position, I sew the front piece securely to the base of the hood, ensuring a snug fit. For the top part, I used hot glue, which worked out great. I made a few adjustments along the way and decided to add a bit more fur where needed for a fuller look.
- Painting Spots: Now it’s time for Loth-Cat’s signature spots. I use a dabbing technique to paint the spots onto the fur. Each Loth-Cat has unique spots, so don’t worry about perfection.
- Creating the Tail:
Using a 1/3 yard of fabric, I folded the top in a triangular fashion sewing it in place, while leaving an opening to stuff it. Then turning it inside out to hide the seam, I sewed along the length of the tail. Once it was sewn, turning it back to right-side out. Being that the Loth-Cat tail is full at the end, I sew it along the width. I then painted the stripes, again going with he grain of the fur with short brush strokes, to work the paint into the fur. - Brush Out, Fluffing & Stuffing
After everything dried, I used a wire brush to fluff out the fur, going with the grain of the fur.I then used paper towels to stuff the tail. (Batting works too, but I improvised here!) - Final Touches:We paired the costume with a cute white skirt and black leggings & long-sleeve shirt under a shirt I did with the Loth Cat . My niece loved it, and everyone at FanX & Mouse-Con adored her Loth-Cat! She very much became the loth cat with her Meow responses and pawing.
What do you all think? If you’re going to try it yourself, let me know in the comments below!
- Loth Cat Found Another
- Ezra
- Ahsoka & Hera
- MandoSnow
- Dark JarJar
- Tech
_____________________________________________________________
Don’t Forget to Subscribe!
Follow along with the video tutorial here: Watch the DIY Loth-Cat Costume Tutorial on YouTube! Don’t forget to subscribe and hit the notification bell for more Star Wars & Disney DIYs. If you loved this project, share it with your fellow Star Wars fans! Also, be on the look out the full Sabine look I created for some cosplay/disneybound inspiration.
Your support helps me keep making magical content for you all, and is so appreciate!
Find Me Online:
🌐 Website: https://magicalartistry.com
📷 Instagram: https://www.instagram.com/stefaniesmagicalartistry/
🎥 TikTok: @magicalartistry
📌 Pinterest: https://pin.it/WmLTRFxxW
Shop My Favorite Products:
Looking for more magical crafting supplies? Check out my favorite products here: https://magicalartistry.com/my-favorite-magical-recommendations/
Disney-Inspired DIY Macrame Mickey & Minnie Ghosts | Disneyfy It Yourself (DIY) Halloween Decor
Ready to add some spooky Disney magic to your Halloween decor? 🕸️👻 In this Disneyfy It Yourself tutorial, I’ll show you how to make adorable Macrame Mickey & Minnie Ghosts! These fun, easy-to-make crafts are perfect for adding a touch of Disney charm to your home. Whether you’re a seasoned crafter or a beginner, this simple DIY project will have you creating hauntingly cute ghost decorations in no time. Perfect for Halloween lovers and Disney fans alike, let’s get crafting! 🎃👻
Watch the Full Tutorial on YouTube:
Prefer to follow along with a video? Watch the step-by-step process on my YouTube channel!
Click here to watch the DIY Macrame Mickey & Minnie Ghosts video
Materials Used:
To create your Mickey & Minnie Macrame Ghosts, you’ll need:
- Macrame Cord – 10 mm thick
- Glitter Foam/ Felt
- White Foam Board
- Crafting Scissors
- Sewing Scissors
- Hot Glue Gun
- Hot Glue Gun Sticks
- Razor Blade
- Pencil
- 8 ¼ inch plate and 4-inch coasters
📌 Disclosure: As an Amazon Associate, I earn from qualifying purchases through the affiliate links above. This helps support my blog and channel at no extra cost to you.
Step-by-Step Tutorial:
- Prepare Your Tools & Materials: Gather your glue gun, crafting scissors, sharp sewing scissors, a razor blade, and a pencil. For tracing the shapes, I used an 8 ¼ inch plate and 4-inch coasters. You can adjust the sizes to your preference, but these worked perfectly for my design. I used 10 mm macrame rope, but you can adjust the size depending on the size of your project.
- Trace Your Template: Using a white foam board, trace the template for Mickey & Minnie’s heads. I like to place the template near the edges of the foam board to minimize waste, leaving space for other projects. You only need to trace a half-circle for this, as we are focusing on the head and ears.
- Cut the Foam Board: Using a razor blade, score the foam board along your traced lines. If the cut doesn’t go all the way through, you can use scissors to finish cutting the shape out. It helps to cut the foam board down into smaller sections for easier handling.
- Make Additional Templates: If you plan to make multiple ghosts, I recommend creating a paper template from a paper bag or other material to reuse. For this project, I traced another foam board template for Minnie.
- Attach the Macrame Cord: Begin by gluing the macrame cord around the outside edge of your foam cutout. As you work, twist the rope to prevent it from unraveling, making sure to fully cover the outer edge. Work around Mickey’s ears until you’ve completed a full loop.
- Create the Ears: After closing off the main shape, add a generous amount of glue to where the ears will be. Twist the rope and press it into the glue, forming a circle. Continue circling the cord, like forming a cinnamon roll, until the ear is complete. Add extra glue where needed to secure it in place.
- Shaping & Securing: As you work, shape the macrame cord around the foam form to ensure everything lines up smoothly. If you spot any gaps or loose ends, use a skewer stick or cuticle stick to push fibers back into place with a dab of glue.
- Create Mickey & Minnie’s Faces: Draw a simple face template on the foam board using a pencil. I debated whether to include a smile, but ultimately decided to go for it. You can design the face however you like—just make sure it looks how you envision Mickey or Minnie’s spooky-yet-cute face.
- Add Minnie’s Bow: For Minnie’s bow, I made my own using a fabric that I loved, but you can use any fabric or material you prefer. Simply attach the bow with hot glue between Minnie’s ears to complete her look.
- Final Touches: Once everything is glued in place, add a small loop to the back of your ghost using leftover macrame cord for easy hanging. Secure the loop with extra glue and wrap the ends for reinforcement. If you want, you can also add extra details like Minnie’s eyelashes or any additional embellishments you prefer.
Show Off Your DIY Halloween Decor:
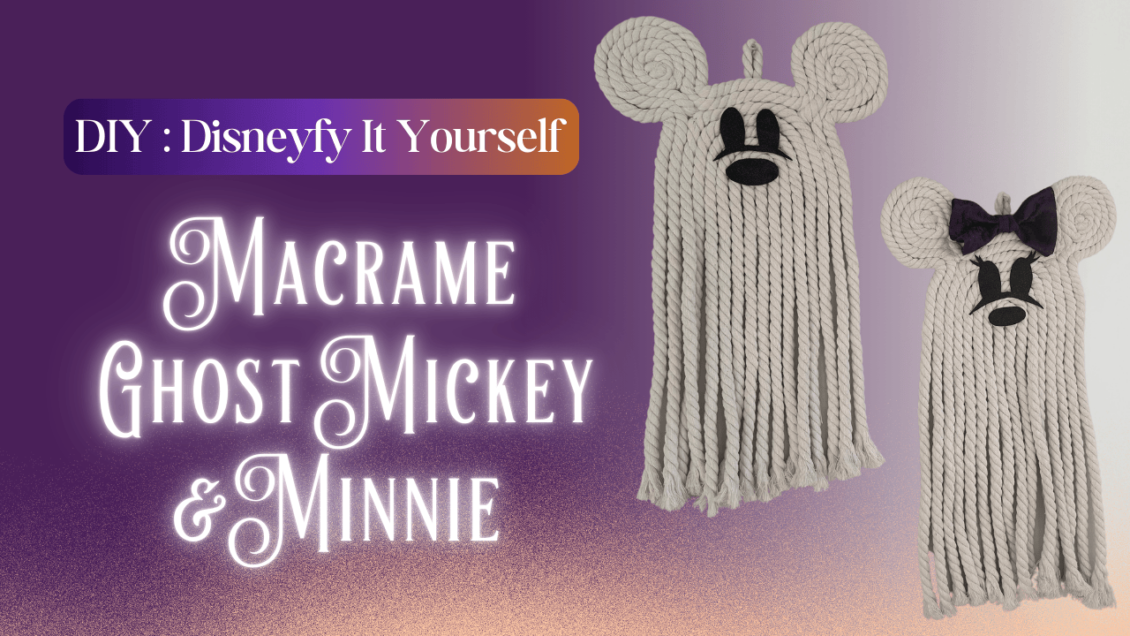
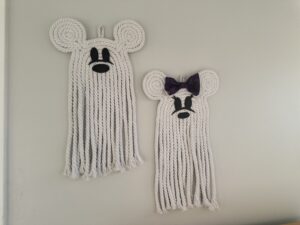 Here’s the final product! I’m thrilled with how these Macrame Mickey & Minnie Ghosts turned out, and I hope you have just as much fun making them. If you give this DIY a try, make sure to tag me on Instagram @stefaniesmagicalartistry so I can see your creations! Should I add a smile to Mickey? Let me know what you think in the comments below! 🎃
Don’t Forget to Subscribe!
👻 Be sure to Like, Subscribe, and Leave a Comment so you don’t miss out on future Disney-inspired DIYs, transformations, and fandom lifestyle videos! Your support helps me keep making magical content for you all.
Find Me Online:
🌐 Website: https://magicalartistry.com
📷 Instagram: https://www.instagram.com/stefaniesmagicalartistry/
🎥 TikTok: @magicalartistry
📌 Pinterest: https://pin.it/WmLTRFxxW
Shop My Favorite Products:
Looking for more magical crafting supplies? Check out my favorite products here: https://magicalartistry.com/my-favorite-magical-recommendations/
Oceanic Tresses: Mermaid Hair Essential Products
Mermaids have long been symbols of beauty and mystery, with their flowing locks and ethereal presence captivating imaginations for centuries. If you’ve ever dreamed of channeling the enchanting allure of these mythical creatures, you’re in luck! In this guide, we’ll explore the products to help achieve stunning mermaid hair that will make you feel like you’ve emerged from the depths of the ocean.
**Disclaimer: This post contains affiliate links, which means I may earn a small commission if you make a purchase through these links. This comes at no extra cost to you and helps support the continued creation of content. Thank you for your support!**
Hair Maintenance:
- Hair Care:
I highly recommend the Redken Extreme Length hair care products for all Mermaids! Redken Extreme Length Shampoo infused with Biotin is for strengthening damaged hair to grow longer and stronger. Extreme Length Shampoo helps prevent breakage and promotes hair growth. It smells absolutely wonderful also! Products available include: Shampoo, Conditioner, Mask (use as needed), & Leav-In Conditioner!
– Affiliate Link 1: Redken Extreme Length – https://amzn.to/3Qd3Rtn
- Protecting Hair Color :
– Product: Shield your hair when doing any type of underwater and sun exposure. When swimming it is always recommended to apply conditioner to hair and leave it in while swimming.
– Affiliate Link 1: Redken Acidic Color Gloss Treatment –
– Affiliate Link 2: Color Edge Shine Cream | Detangler –
- Protecting Hair Extras:
Styling Tools::
- Hot Tools:
– Affiliate Link 1: Wavytalk 5 in 1 Curling Iron,Curling Wand Set –
– Affiliate Link 2: Hot Tools Stylers –
– Affiliate Link 3: Hot Tools 3 Barrel Hair Waver
- Heatless Tools:
– Heatless curls can help with durability of the curls and long term maintenance of hair.
– Affiliate Link 1: Hair Rollers for Heatless Overnight Curls–
– Affiliate Link 2: Eight Claw Design Heatless Curler –
- Teasing Comb:
– Affiliate Link 1: Black Diamond Comb –
Hair Pieces:
- Synthetic Hair Extensions
Synthetic hair will need low-heat styling before application and blend with natural hair
– Affiliate Link 1: Ponytail Extension, 26 inch –
– Affiliate Link 2: Synthetic Hair 20 Inch Hidden Wire Headband–
– Affiliate Link 3: Braid Headbands-
– Affiliate Link 4: Braid Ponytail Extension –
– Affiliate Link 5: NAYOO Hair Extensions –
– Affiliate Link 6: Clip in Hair Extensions Synthetic Hair –
- Human Hair Extensions:
Human Hair Extensions can be styled with your natural hair and will need thermal product care.
– Affiliate Link 1: 22 Inch Human Hair Clip-In Extensions –
– Affiliate Link 2:Invisible Line Hair Extensions, 22 Inch –
- Wigs:
Wigs are a great way to create big transformations! Lace front wigs give a natural and soft hairline and are generally a better quality. Non-lace front are a cheaper option and have a very harsh hair line which can be hard to work with when styling.
– Affiliate Link 1: ImStyle Lace Front –
– Affiliate Link 2: Lushy Lace Front Wig –
- Glitz:
– Affiliate Link 1: Hair Tinsel Clip-In Pack –
– Affiliate Link 2: Powder Puffer Bottle For Glitter Spray –
Styling Products:
- Volumizing Powder:
– Product: Volumizing powder not only volumizes the base of the hair but can assist in adding texture for better hold when used with a thermal spray. Powder is also used in styling wigs and assisting in making synthetic shine look more natural.
– Affiliate Link 1:SexyHair Big Powder Play –
– Affiliate Link 2: got2b Powder’ful Vol Style Powder–
– Affiliate Link 2: got2b Vol Style Powder Spray–
- Thermal Protectant Spray:
– Product:
– Affiliate Link 1: AG Care Curl Spray –
– Affiliate Link 2: Redken Thermal Spray –
- Holding & Finishing :
– Affiliate Link 1: Got2b Ultra Glued Invincible Styling Hair Gel
– Affiliate Link 2: Joico Power (Hair) Spray –
– Affiliate Link 3: Redken Shine Flash Glistening Mist –
Ready to embark on your mermaid hair journey? I hope this helps while you indulge in some underwater-inspired glam.
Enchantment Beneath the Waves: A Product Guide to Waterproof Makeup & Skincare for Underwater Mermaids
Enchantment Beneath the Waves: A Product Guide to Waterproof Makeup & Skincare for Underwater Mermaids
For underwater mermaids, maintaining a captivating appearance while submerged is essential to their mystique. Whether enchanting audiences or creating mesmerizing underwater art, investing in waterproof makeup and skincare is a wise choice for mermaids of all kinds. Not only does it ensure your makeup stays put during performances or photoshoots underwater, but it also comes in handy on those sweltering days when perspiration threatens to ruin your look.
Unlike regular makeup, which is water-based and prone to smudging when wet, waterproof makeup contains silicone, the magic ingredient that repels water and keeps your look intact. Silicones smooth over any rough patches and lock in moisture. So, while silicone-filled serums and moisturizers might make your face look and feel nice in the moment, they don’t contribute to the long-term health and improvement of your skin.
As an advocate for daily natural beauty products, I don’t recommend all water proof products for daily wear because of the possibility of other harsh ingredients that contribute to the stay- factor. Because of this, I recommend care when removing waterproof makeup and for extra after care.
Explore this comprehensive guide curated to withstand aquatic elements and keep you looking ethereal and enchanting beneath the surface, along with some links of my favorite products!
**Disclaimer: This post contains affiliate links, which means I may earn a small commission if you make a purchase through these links. This comes at no extra cost to you and helps support the continued creation of content. Thank you for your support!**
Skin Prep:
It is important to start any makeup application to a cleansed & moisturized face.
- Sunscreen:
– Shield your skin with waterproof sunscreen formulated for underwater use. Opt for broad-spectrum formulas with high SPF to combat UV damage. I recommend a Powder Sunscreen for reapplying throughout your event.
– Affiliate Link 1: Sweet Pineapple & Honey Melon Herbal Facial Sunscreen SPF 50
– Affiliate Link 2: [Hawaiian Tropic Mineral Powder Sunscreen Brush SPF 30
- Primer:
– Extend makeup wear with waterproof skin primer that prevents melting or fading underwater. Choose lightweight, hydrating formulas that blur imperfections. Allow primer application to fully dry before applying makeup.
– Affiliate Link 1: Urban Decay All Nighter Longwear Face Primer – Lightweight, Long-Lasting Formula – Locks Foundation in Place, Smooths & Hydrates Skin
– Affiliate Link 2: Mehron Makeup Skin Prep Pro Mattifying Skin Toner
Eyes:
- Waterproof Eyebrow Gel:
– Product: Define brows with waterproof eyebrow gel that holds them in place underwater. Look for long-wearing formulas enriched with nourishing ingredients.
– – Affiliate Link 1: MAEPEOR 12 Colors Eyebrow Pomade Full-pigmented Long Lasting Waterproof Eyebrow Cream Gel
– Affiliate Link 2: Anastasia Beverly Hills – DIPBROW Gel
- Eyeshadow Base:
– Product: Prep lids with waterproof eyeshadow base for enhanced color payoff and longevity underwater. Select formulas that resist creasing and fading.
– Affiliate Link 1: Urban Decay Eyeshadow Primer Potion
– Affiliate Link 2: NYX PROFESSIONAL MAKEUP HD Eyeshadow Base, Shadow Primer
– Affiliate Link 3: MAC Paint Pot
- Waterproof Eyeshadow:
– Product: Add depth and dimension with waterproof eyeshadows in a range of shades. Choose long-lasting formulas that resist water and blend seamlessly.
– Affiliate Link 1: MAKE UP FOR EVER Aqua Seal
– Affiliate Link 2: L’Oréal Paris Infallible 24 HR Eye Shadow
– Affiliate Link 2: CHARMACY Multichrome 2 in 1 Cream Eyeshadow Stick, Waterproof Eye Brightener Highlighter Stick
- Waterproof Eyeliner:
Define eyes with precision using waterproof eyeliners resistant to smudging and fading underwater. Choose long-lasting formulas in classic or vibrant hues.
– Affiliate Link 1: Eyeliner- Urban Decay 24/7 Glide-On Eye Pencil
Foundation/Contour/Blush:
- Waterproof Concealer:
– Camouflage imperfections with waterproof concealer that stays put underwater. Opt for lightweight formulas that conceal blemishes and dark circles.
– Affiliate Link 1: MAKE UP FOR EVER Full Cover Concealer
– Affiliate Link 2: IT Cosmetics Bye Bye Under Eye Full Coverage Concealer
– Affiliate Link 2: Tarte Shape Tape Contour Concealer
- Waterproof Foundation:
– Product: Select waterproof foundation for seamless coverage without caking or smudging underwater. Look for silicone-based formulas for long-lasting wear.
– Affiliate Link 1: FACE BOND SELF-SETTING WATERPROOF FOUNDATION
– Affiliate Link 2: MAC Pro Longwear Nourishing Waterproof Foundation
Setting:
- Setting Powder:
– Product: Control shine and set makeup with setting powder for a matte finish underwater. Choose finely-milled formulas to maintain makeup integrity.
– Affiliate Link 1: Mehron Makeup Setting Powder
– Affiliate Link 2: Urban Decay All Nighter Waterproof Setting Powder
- Waterproof Setting Spray:
To ensure your underwater mermaid makeup stays put through every splash and dive, I like to use a setting spray between each makeup layer. Opt for long-lasting formulas to keep makeup in place during aquatic adventures.
– Affiliate Link 1: Urban Decay All Nighter Waterproof Makeup Setting Spray
– Affiliate Link 2: Urban Decay De-Slick Oil Control Matte Makeup Setting Spray
– Affiliate Link 3: Urban Decay Legendary Mini Makeup Gift Set – 3-Piece Longwear Favorites
Final Touches:
- Waterproof Lip Color:
– Product: Complete your look with waterproof lip color in vibrant shades. Choose hydrating formulas with satin or matte finishes for lasting color.
– Affiliate Link 1: URBAN DECAY 24/7 Glide-On Lip Pencil – Waterproof
– Affiliate Link 2: Maybelline Makeup SuperStay Matte Ink Liquid Lipstick
- Waterproof False Lashes/ Glue:
– Product: Enhance your look with waterproof false lashes for added drama underwater. Choose lightweight, comfortable styles that stay in place during aquatic activities. Consider a long wear 5-7 day option.
– Affiliate Link 1: KISS Falscara Bond and Seal For False Eyelash Wisps
– Affiliate Link 2: i-Envy by KISS Super Strong Hold Eyelash Adhesive, Waterproof
- Waterproof Mascara:
– Product: Enhance lashes with confidence using waterproof mascara for volume and length without clumping or flaking underwater. Opt for smudge-proof formulas.
– Affiliate Link 1: L’Oreal Paris Voluminous Lash Paradise Waterproof Mascara
- Waterproof Glues and Glitz:
– Product: Add sparkle and shimmer with waterproof glitz for a magical underwater glow. Secure embellishments and accessories with waterproof glues specially formulated for underwater use. Ensure they adhere securely without compromising your look.
– Affiliate Link 1: Mehron Makeup Spirit Gum & Remover Combo Kit
– Affiliate Link 2: Face Jewels – Face Gems Mermaid Face Jewels
– Affiliate Link 2: 5 Pieces Mermaid Scale Stencil
– Affiliate Link 1: KARIZMA Kiss My Bass! 6X 10g Chunky Face Glitter
After Care:
Oil-based makeup removers are necessary to effectively eliminate waterproof makeup from your skin. Regular face washing won’t suffice due to its waterproof nature.
You can utilize petroleum jelly, olive oil, or baby oil for this purpose. After moistening your face, apply one of these substances and gently wipe away using a makeup pad.
Alternatively, blend baby oil or coconut oil followed by your face wash and cleanse your face as usual for another effective method. I like using the Garnier Micellar Water, Facial Cleanser & Makeup Remover after the oil cleanse to remove any last residue before continuing with normal skin routine. If skin is feeling dried out, you may want give your skin some extra TLC. Especially waterproof lip products use an alcohol base ingredients. Here’s a few recommendations to pamper your skin.
– Affiliate Link 1: KISS Falscara Remover for Lash Adhesive
– Affiliate Link 2: Garnier Micellar Water, Facial Cleanser & Makeup Remover
– Affiliate Link 3:HEMPZ Herbal Ultra Moisturizing Lip Balm – Lip Treatment
– Affiliate Link 4: Organic Anti Aging Face and Body Butter Cream
– Affiliate Link 5: 7 Color Led Face Beauty Device
Whether you’re diving deep into the ocean or sweating it out on land, these waterproof products have got you covered. With the right combination of waterproof makeup and skincare essentials, underwater mermaids can enhance their natural beauty, protect their delicate skin, and captivate audiences beneath the waves. From foundation to Shimmer, each product on this list is specially formulated to withstand immersion and ensure you look enchanting and ethereal underwater. So, dive in, make a splash, and let your mermaid beauty shine through with these essential waterproof makeup and skincare must-haves.
*This list will be updated as there are new products finds and developments.
Tangled Transformation
I will never forget that moment sitting in the theatre and realizing that every action and word out of the villain’s mouth I had experienced and heard in real life (even hairstyle)…. the only difference was that it was a blood-related mother who was manipulating, not one who kidnapped and was pretending.
Mother Gothel will always be the scariest villain….. she is a real life villain that doesn’t require magic or minions to do her dirty work, although will still use them.
I was so excited when they announced Tangled! Not only because of the hair and amazing braid, but because when I was younger and wanted to be a Disney animator I would dream up Rapunzel characters. I never in a million years would have guessed I would have a 3rd very emotional/mental connection.
Around this time in my life I was ironically, catching and piecing together what would be the never ending lies and evilness that comes with those lies. Watching this movie in the theatre solidified my feelings of eliminating a toxic relationship (for lack of better words) that only carried negativity, loneliness and zero self-worth.
I remember the empowerment I felt and saying “YES!! “ out loud when Rapunzel grabbed Gothels wrist and said “NO!” I have to admit the relief I also felt when Gothel went *Poof* and knew she couldn’t hurt anyone else.
So here is to the survivors of the scariest real life villains of compulsive lying, narcissistic sociopaths. The Happily Ever After can be a long process of healing the shadow, maybe inner child work and generational trauma, but it is oh so worth it!
 I’m curious, who is your scariest villain?
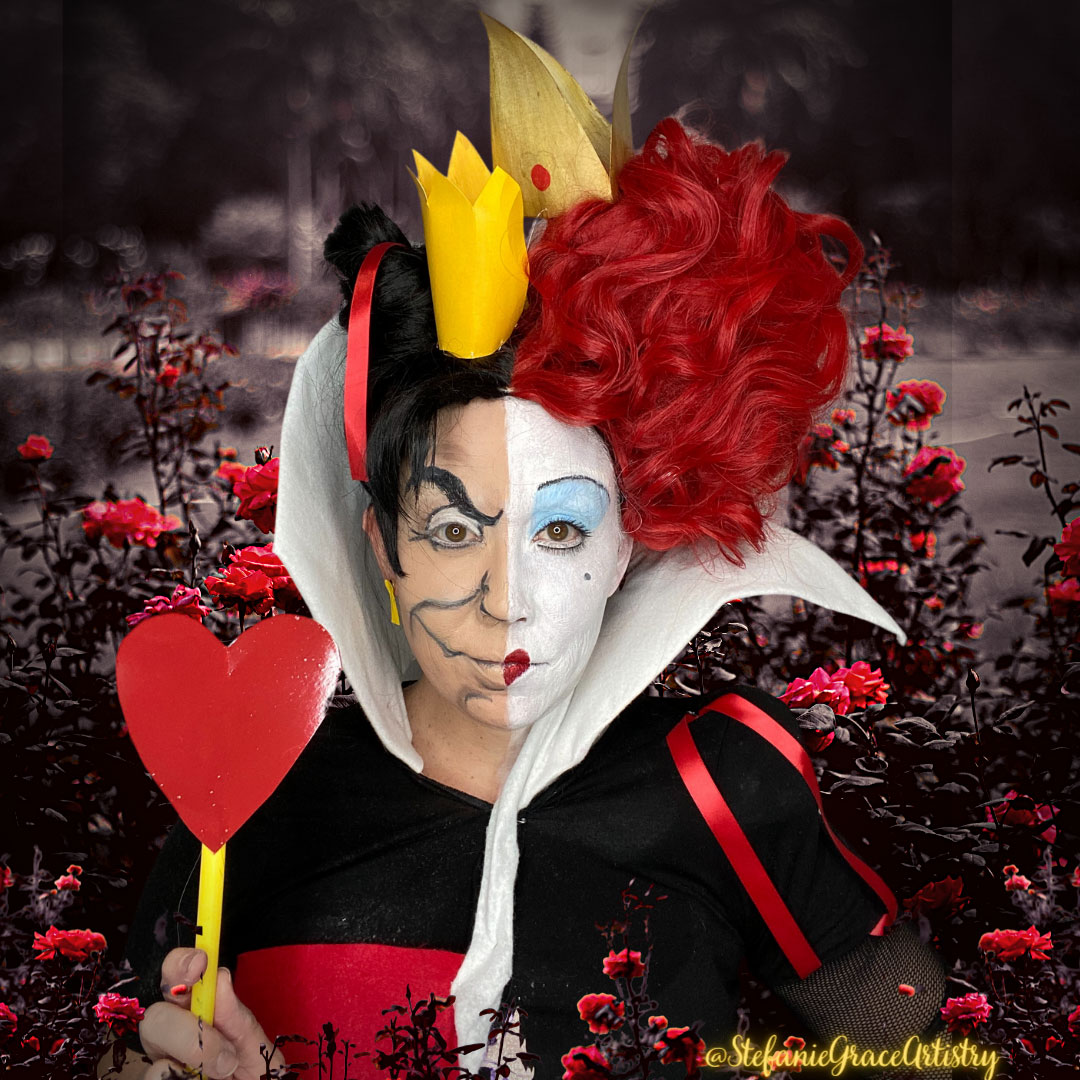
Queen of Hearts
She’s very late for an important date….. if it were another instead, it would have been “OFF WITH THEIR HEAD!”
One thing about being the Queen is “all ways, are your ways” and being late to this months Dreamy Nightmares Series is her way apparently. I am excited to share the time-lapse and the wig transformation of the heartless, or I mean the Queen of Hearts this week.
Do you like the animated version or the live action Tim Burton version better?
I personally loved that they look nothing like each other and yet are both perfect in every villainous way!
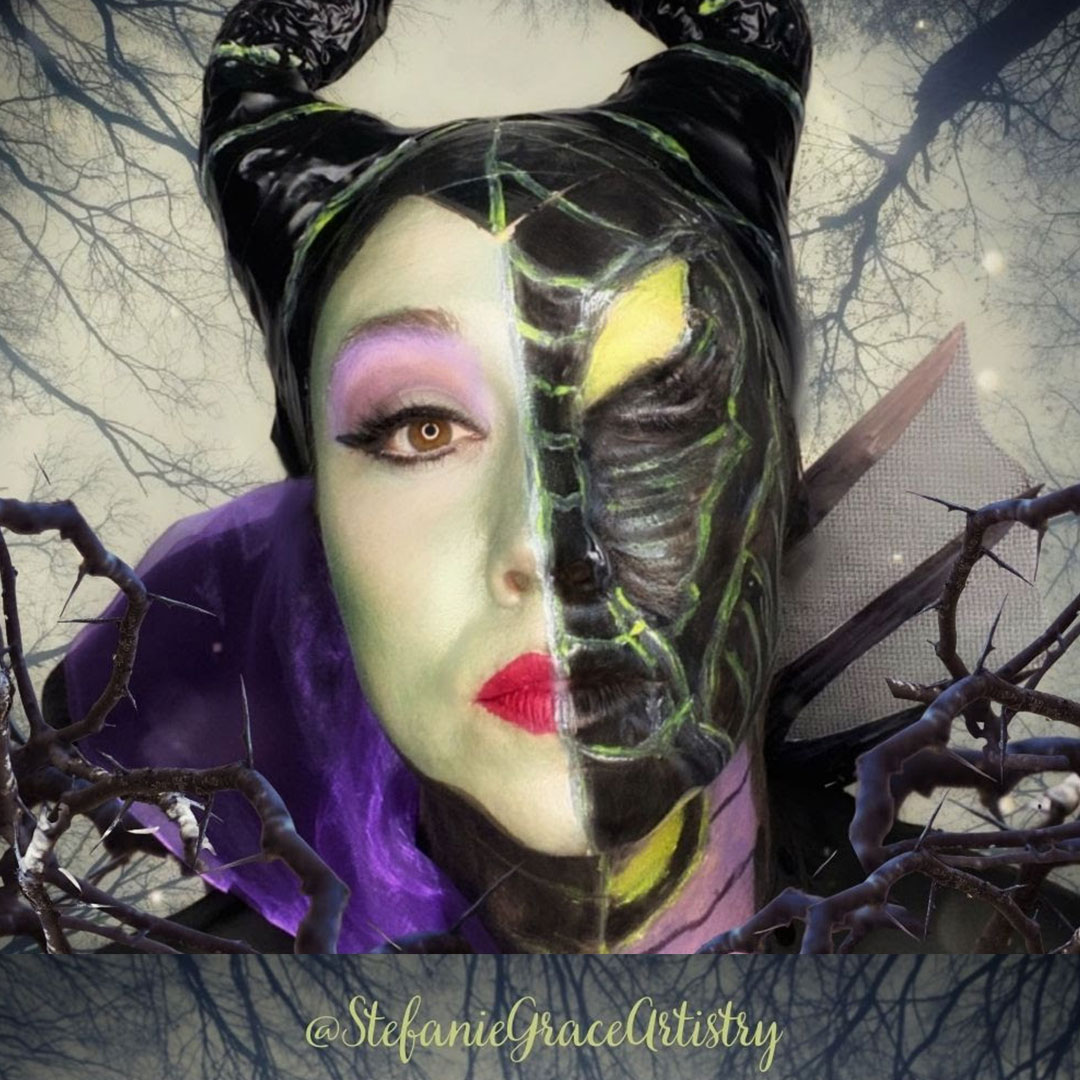
Maleficent Transformation
You poor, simple fools. Thinking you could defeat me. Me, the mistress of all evil! Well, here’s your precious princess!
~Maleficent
The first of the Dreamy Nightmares Series had to be Maleficent, of course!
She has always been my favorite and I especially love her Dragon alter ego! I will never forget seeing her in Fantasmic the first time! It was breathtaking!
This makeup took 3 hours to create and a few more to create her horns and accessories. (Not to mention edits) I have never done a transformation on myself like this before and it was nerve-wracking. As I have mentioned, I have been sitting on this series for 2 years and I am so nervous to see what everyone thinks?




 Maleficent Transformation
  Queen of Hearts
  Tangled Transformation