Category: DIY
DIY Star Wars Loth-Cat Costume Step-by-Step Tutorial
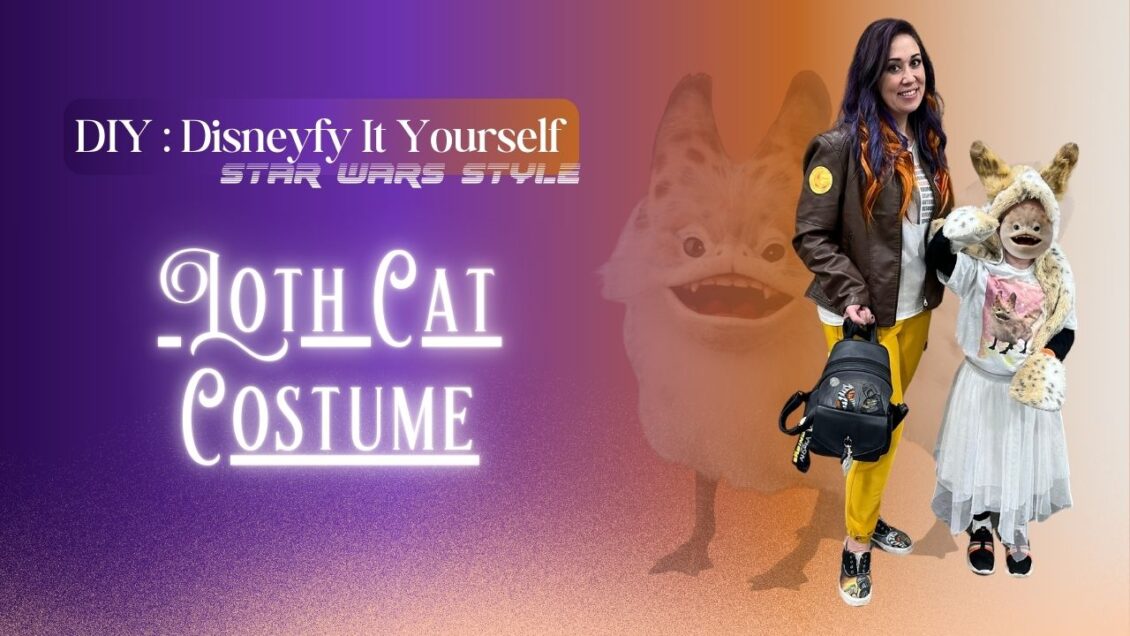
Today’s step-by-step DIY tutorial, we’re going to be creating a Star Wars inspired Loth-Cat Costume. It can be done as cosplay, but more Disneybounding-ish.
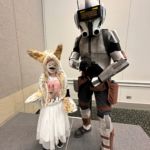
This project came about because, as you can see, I’ve done Sabine Wren’s look a few times for Star Wars Nite at Disneyland, and FanX events. When we first saw Sabine Wren in the Star Wars Ahsoka series with her first attire and hairstyle, it was a no-brainer for me to recreate it. It’s become my go-to Star Wars look!
But here’s the fun part—my niece saw the Loth-Cat in Star Wars Rebels & Ahsoka, and instantly thought it was the cutest thing ever. After hearing about the possibility of making a Loth-Cat costume, she was determined, talking about it for months! So, I thought, why not figure out how to make it? My goal was to make a costume that was easy, lightweight, and not too hot—perfect for events like FanX, which can get pretty toasty indoors.
So today, I’m sharing my step-by-step Loth-Cat costume DIY with you. Be sure to check out my Sabine costume tutorial as well (coming soon!), where I’ll also share the custom patches I designed.
Watch the Full Tutorial on YouTube:
Prefer to follow along with a video? Watch the step-by-step process on my YouTube channel here: Watch the DIY Loth-Cat Costume Tutorial on YouTube!
_____________________________________________________________
Materials You’ll Need:
- Reference picture of a Loth-Cat
- Glue Gun & Glue Sticks
- 9 Gauge Wire
- Animal Hooded Scarf
- Paint & Stiff Brush
- Comb (to brush it out)
- Fishing Line
- Curved Needle
- White Fur (1/3 yard)
- Tan/Beige Fur (9″ x 12″)
- Scissors
- Pliers/Wire Cutter
- Razor Blade/ Utility Knife
📌 Disclosure: As an Amazon Associate, I earn from qualifying purchases through the affiliate links above. This helps support my blog and channel at no extra cost to you.
_____________________________________________________________
Let’s Get Started!
- Shaping the Ears:
First, eyeball the initial height for the Loth-Cat ears. Once you’re happy with one, use it as a template for the second ear. This makes the process easier and quicker. Shape your wire to look like the ears, then glue your tan fur into place, wrapping it around the ear tips. Remember to use a razor blade to score the fur so the edges stay natural! - Sewing the Ears:
I used doubled-up fishing line to sew the wire to the fur hood, adjusting as I went along. I pulled the hood ears through the wire and fabric. Sew it tightly for stability, and fold the hood ears over the wire to add support for them to stand up . - Adding Paint to Ear Tips:
I used watered-down brown paint for the Loth-Cat’s ear tips. Be sure to paint with the grain of the fur. Feel free to go darker than I did! I would recommend adding black to the brown for more contrast. - Adding the Second Layer of FurNow, I’m going to place the other piece of fur that I had precut. This piece is designed to overlap the painted portion, allowing the natural fur to blend seamlessly into the painted areas. Once I have everything in position, I sew the front piece securely to the base of the hood, ensuring a snug fit. For the top part, I used hot glue, which worked out great. I made a few adjustments along the way and decided to add a bit more fur where needed for a fuller look.
- Painting Spots: Now it’s time for Loth-Cat’s signature spots. I use a dabbing technique to paint the spots onto the fur. Each Loth-Cat has unique spots, so don’t worry about perfection.
- Creating the Tail:
Using a 1/3 yard of fabric, I folded the top in a triangular fashion sewing it in place, while leaving an opening to stuff it. Then turning it inside out to hide the seam, I sewed along the length of the tail. Once it was sewn, turning it back to right-side out. Being that the Loth-Cat tail is full at the end, I sew it along the width. I then painted the stripes, again going with he grain of the fur with short brush strokes, to work the paint into the fur. - Brush Out, Fluffing & Stuffing
After everything dried, I used a wire brush to fluff out the fur, going with the grain of the fur.I then used paper towels to stuff the tail. (Batting works too, but I improvised here!) - Final Touches:We paired the costume with a cute white skirt and black leggings & long-sleeve shirt under a shirt I did with the Loth Cat . My niece loved it, and everyone at FanX & Mouse-Con adored her Loth-Cat! She very much became the loth cat with her Meow responses and pawing.
What do you all think? If you’re going to try it yourself, let me know in the comments below!
- Loth Cat Found Another
- Ezra
- Ahsoka & Hera
- MandoSnow
- Dark JarJar
- Tech
_____________________________________________________________
Don’t Forget to Subscribe!
Follow along with the video tutorial here: Watch the DIY Loth-Cat Costume Tutorial on YouTube! Don’t forget to subscribe and hit the notification bell for more Star Wars & Disney DIYs. If you loved this project, share it with your fellow Star Wars fans! Also, be on the look out the full Sabine look I created for some cosplay/disneybound inspiration.
Your support helps me keep making magical content for you all, and is so appreciate!
Find Me Online:
🌐 Website: https://magicalartistry.com
📷 Instagram: https://www.instagram.com/stefaniesmagicalartistry/
🎥 TikTok: @magicalartistry
📌 Pinterest: https://pin.it/WmLTRFxxW
Shop My Favorite Products:
Looking for more magical crafting supplies? Check out my favorite products here: https://magicalartistry.com/my-favorite-magical-recommendations/
Disney-Inspired DIY Macrame Mickey & Minnie Ghosts | Disneyfy It Yourself (DIY) Halloween Decor
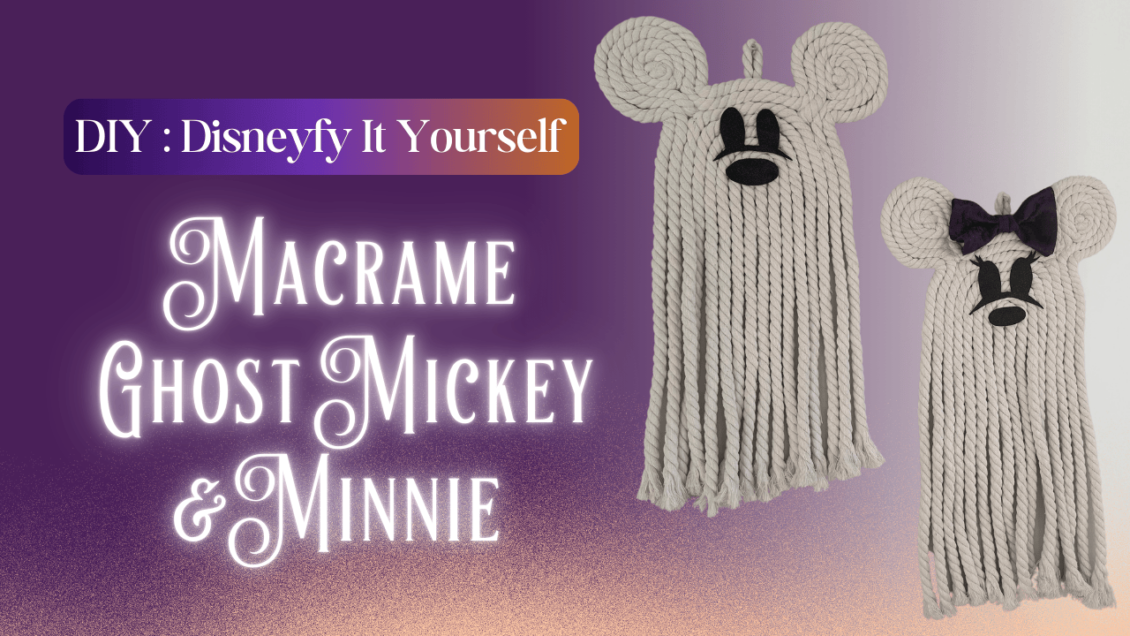
Ready to add some spooky Disney magic to your Halloween decor? 🕸️👻 In this Disneyfy It Yourself tutorial, I’ll show you how to make adorable Macrame Mickey & Minnie Ghosts! These fun, easy-to-make crafts are perfect for adding a touch of Disney charm to your home. Whether you’re a seasoned crafter or a beginner, this simple DIY project will have you creating hauntingly cute ghost decorations in no time. Perfect for Halloween lovers and Disney fans alike, let’s get crafting! 🎃👻
Watch the Full Tutorial on YouTube:
Prefer to follow along with a video? Watch the step-by-step process on my YouTube channel!
Click here to watch the DIY Macrame Mickey & Minnie Ghosts video
Materials Used:
To create your Mickey & Minnie Macrame Ghosts, you’ll need:
- Macrame Cord – 10 mm thick
- Glitter Foam/ Felt
- White Foam Board
- Crafting Scissors
- Sewing Scissors
- Hot Glue Gun
- Hot Glue Gun Sticks
- Razor Blade
- Pencil
- 8 ¼ inch plate and 4-inch coasters
📌 Disclosure: As an Amazon Associate, I earn from qualifying purchases through the affiliate links above. This helps support my blog and channel at no extra cost to you.
Step-by-Step Tutorial:
- Prepare Your Tools & Materials: Gather your glue gun, crafting scissors, sharp sewing scissors, a razor blade, and a pencil. For tracing the shapes, I used an 8 ¼ inch plate and 4-inch coasters. You can adjust the sizes to your preference, but these worked perfectly for my design. I used 10 mm macrame rope, but you can adjust the size depending on the size of your project.
- Trace Your Template: Using a white foam board, trace the template for Mickey & Minnie’s heads. I like to place the template near the edges of the foam board to minimize waste, leaving space for other projects. You only need to trace a half-circle for this, as we are focusing on the head and ears.
- Cut the Foam Board: Using a razor blade, score the foam board along your traced lines. If the cut doesn’t go all the way through, you can use scissors to finish cutting the shape out. It helps to cut the foam board down into smaller sections for easier handling.
- Make Additional Templates: If you plan to make multiple ghosts, I recommend creating a paper template from a paper bag or other material to reuse. For this project, I traced another foam board template for Minnie.
- Attach the Macrame Cord: Begin by gluing the macrame cord around the outside edge of your foam cutout. As you work, twist the rope to prevent it from unraveling, making sure to fully cover the outer edge. Work around Mickey’s ears until you’ve completed a full loop.
- Create the Ears: After closing off the main shape, add a generous amount of glue to where the ears will be. Twist the rope and press it into the glue, forming a circle. Continue circling the cord, like forming a cinnamon roll, until the ear is complete. Add extra glue where needed to secure it in place.
- Shaping & Securing: As you work, shape the macrame cord around the foam form to ensure everything lines up smoothly. If you spot any gaps or loose ends, use a skewer stick or cuticle stick to push fibers back into place with a dab of glue.
- Create Mickey & Minnie’s Faces: Draw a simple face template on the foam board using a pencil. I debated whether to include a smile, but ultimately decided to go for it. You can design the face however you like—just make sure it looks how you envision Mickey or Minnie’s spooky-yet-cute face.
- Add Minnie’s Bow: For Minnie’s bow, I made my own using a fabric that I loved, but you can use any fabric or material you prefer. Simply attach the bow with hot glue between Minnie’s ears to complete her look.
- Final Touches: Once everything is glued in place, add a small loop to the back of your ghost using leftover macrame cord for easy hanging. Secure the loop with extra glue and wrap the ends for reinforcement. If you want, you can also add extra details like Minnie’s eyelashes or any additional embellishments you prefer.
Show Off Your DIY Halloween Decor:
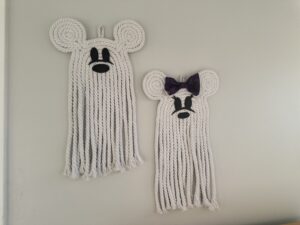
 Here’s the final product! I’m thrilled with how these Macrame Mickey & Minnie Ghosts turned out, and I hope you have just as much fun making them. If you give this DIY a try, make sure to tag me on Instagram @stefaniesmagicalartistry so I can see your creations! Should I add a smile to Mickey? Let me know what you think in the comments below! 🎃
Don’t Forget to Subscribe!
👻 Be sure to Like, Subscribe, and Leave a Comment so you don’t miss out on future Disney-inspired DIYs, transformations, and fandom lifestyle videos! Your support helps me keep making magical content for you all.
Find Me Online:
🌐 Website: https://magicalartistry.com
📷 Instagram: https://www.instagram.com/stefaniesmagicalartistry/
🎥 TikTok: @magicalartistry
📌 Pinterest: https://pin.it/WmLTRFxxW
Shop My Favorite Products:
Looking for more magical crafting supplies? Check out my favorite products here: https://magicalartistry.com/my-favorite-magical-recommendations/


 Maleficent Transformation
  Queen of Hearts
  Tangled Transformation